Showing posts with label Burro. Show all posts

Sunday, March 24, 2019

Frame Plan

Quick visit. Mainly to measure the hub faces on the axle so I can get quotes for a replacement. I later removed the AC halogen light fixture above the sink. Looking to update the lighting with LEDs.

Like mentioned in my last post, I'm looking at the cracks on the front and rear of the shell. It needs to be worked on and I'm thinking more now about working to remove the seam from the outside. I've seen a few pictures of others doing it and I like the seamless look.


Right now I got a plan started for replacing the frame. Slightly different than before but stronger at the same time.

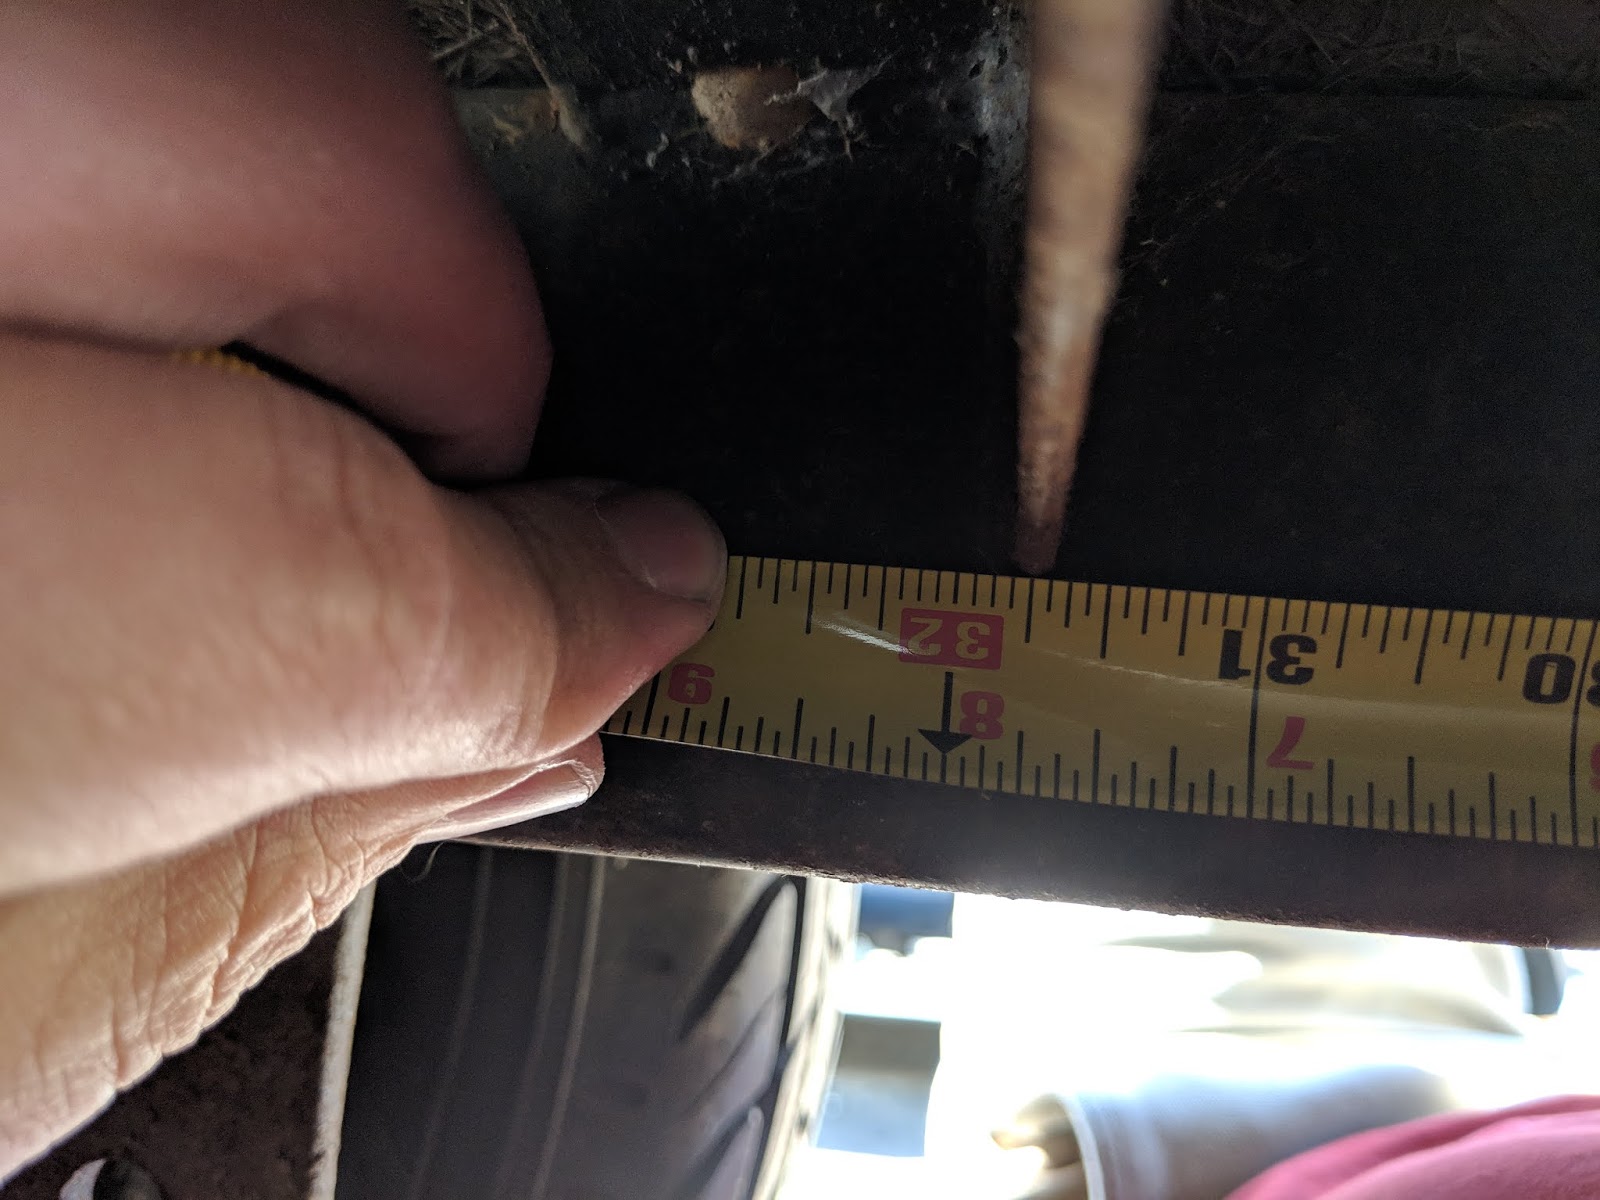
When I measured the side rails at the coupler, I came up with 3/32" thickness. The cross members appear to be 1/8". I intend to use 1/8" thick material all around. 2x3 on the side rails and 1 1/4" square cross members then use angle iron tabs with holes drilled where the floor will bolt down on. The width of the frame is currently 49 1/2" and might narrow it to 49". The current hub face on the axle is about 63 1/8" and I think I have the space to widen it to 65" giving an extra inch on either side. I intend to add electric brakes on the next axle.


The cross members on the above drawing are mostly in the same place as the current frame has them. The main changes will be the back rail is added which will be covered by a bumper, and the current rear cross-member will be moved forward a few inches (the one marked for 18"). The addition of a hitch receiver will give me the options to use a cargo carrier and/or bicycle rack. I'm also thinking to use that as the way to carry the spare tire.

I expect these things will allow a good strong frame.

Finishing touches... I'm keeping in mind the need for extra support under the entry door. Also looking to add supports for drop-leg stabilizing jacks like Burro has used in the past. My current frame has holes in the bumper for the jacks, but I'm thinking to place them on the frame sides like I saw from another trailer.

Tuesday, March 19, 2019

Working on a Plan

Went to the camper over the weekend. I got to talk to the lady who runs the storage place and how I want to work on the trailer. She basically said so long as I clean up after myself, it shouldn't be a problem to do the work there. Hopefully I don't wear out my welcome during the work.

The main purpose of my visit was to take some measurements of the frame to make plans for replacement. Also for replacement of the axle too. One measurement I didn't get to check/confirm was the hub-face. Another post I found, the burro owner listed the measurements for their own trailer but seems a few on mine may be different. Until I get my own sorted out, it helps to get an idea of what to expect.

I started off with measurements from the end of the side rail that butts up on the inside of the angle-iron used for the rear bumper. There was a small gap at the bottom where I was able to hook on a tape measure.

The following pictures show the measurements I took at the cross beams starting from the rear.


2x3 angle iron used for bumper


hitch receiver is bolted on, going to replace with straight weld-on type


rear most beam


Rear beam to be moved forward a few inches.


Getting an idea of where the center of the hub is located.


A few inches forward of this last beam, the side rail bent towards the coupler on the tongue. As of now, the only change I'd make for the cross beams were to move the back one forward 4 inches or so, where it would sit under the back dining seat better, where it currently sags from soft plywood. The overall width of the trailer is 49.5" but I'm thinking it could be 49" for an even number, where it might help when ordering a new axle.

While I've seen posts about axles, I've looked at the Dexter #9 and the Flexiride axles. The current axle arms are up from the axle beam and the next one, I'm thinking either a 10 or 22 degree down would be good. The bottom of the frame is 12" high and having the arms down a bit will give it a little more clearance. Even as it is, I'm able to crawl around under it, but not by much.


Sizing up the extra support under the door.
Might do the same all around.
24" x 6"

After getting these measurements, I went inside. I removed the water and drain fittings under the sink area and plan to patch the remaining holes with fiberglass and come up with a different plan. While I was taking things apart, I removed the white fabric covering the center seam. Now, I've heard builders used resin to fill in the gpas of the two halves but seeing it myself, I saw it had cracked. Front and back both have cracks. The one in the back goes from the floor all through to the window. The front one goes about half way up to the window. I was thinking to sand the surface to prep it anyway and now I see there's a bigger need. I'm now looking to add some fiberglass to help strengthen the bond between the two halves together. Might be good to work on this before lifting the shell off the frame. With the two halves split, I wouldn't want to make it worse when there's less structure to the whole thing. I do have some fiberglass left over from a boat project that could do well with this project.


water feed/drain fittings removed. Large hole was for AC input.


harder to see the crack in the front but it's there


The crack on the back is a bit more obvious


I want to remove the old spare tire mounting bolts.
May cut away a little of the molded interior to fix.

Rear crack continues down through the floor. This crack could be worse due to the impact damage I had found before and wasn't repaired like the area below the driver side window.


See some caulking coming through.
Hopefully not silicone based.


view of the ceiling seam and roof vent


View of the front work space. Pulled up some of the fiberglass to get to one of the mounting bolts. The plywood was all mush.

Getting the measurements and breaking down the trailer further will allow me to work on a game plan to build it back up.


Tuesday, January 29, 2019

Inspecting the Frame

Just a quick look at the condition of the frame. Took some measurements. Found a repair at the bend under the door that leads to the tounge. Thinking to replace the frame instead of just adding reenforcement.

Hitch receiver was a bolted add-on.


Measured the frame:

bumper

bumper height

long side frame

long side frame

Total frame width

Safety chain welded to the frame


This is what held the spare tire


under the hitch, side frames are 3/16" thick


Doesn't really look like a good repair weld


bend in drive side

deep pocket in the bend. the reason its a failure point on these campers

Looking at the axle mounting:


Overall, the frame looks mostly sound and thought to add some additonal metal to strengthen the frame before replacing the floor. After measuring the frame, I'm now looking more at replacing it. 3/16" metal thickness doesn't sound like much. I think 1/8" would be better. Looking to change the 1.5" x 3" frame sides to 2"x4" but best to talk with a trailer shop to see what they think as well.

Of course, with all this work, axle would need to be replaced. I have some thoughts on that I'm listing in the Renovation Ideas tab above.

Saturday, November 10, 2018

Discovery

Went to the camper early this morning. Took some stuff out that I didn't and will help clear things out for updating the interior, and electrical. Some of the pics below are before/after. Like removing lights and a few AC outlets.


another outlet by the bunks but will have to
remove later when I can get to the nuts holding it in place

One of these lights on each side was removed as
well as the sticky thing beside it. (there was a few
of those things scattered around the inside)


Looking to remove this light with something newer/updated.
Any lights I install will be LED


small piece of veneer covering the hole, likely an old AC outlet

papertowl holder was removed, along with the
block of wood behind it

Got this outlet out


old wires and inverter in the trash box

Might be hard to see in this photo below, but the hose has two hose clamps, but only one was actually doing anything


general view of damaged area

Water tank pulled out form under the seat it sits on
tank measured 12"x12"x20"

13 Aug 1982, probably the date it was made or installed

space water tank sat

trailer wiring in the water tank space

The next four pictures were just to get a look of the trailer lighting hooked up to the tail/running lights.


painted area is the closet space

Looking at the damaged space, I came to a realization that all the original resin in the camper was cured green but I kept looking at these yellow spots then realized that's were previous damage was repaired. Some of it doesn't look too good and it looks like when the shell broke, they kept some areas overlapped and just laid glass over it and probably used filler to smooth out the outside. Doing that, I think, left the outside pushed in and deformed. Not sure if I'll be able to fix the shape of the shell but it might be possible. I've seen pictures of people with worse damage come back to looking good again, although the ones I saw didn't have them undoing someone elses "repair" work in order to fix it.


some fiberglass work needed on the door edge
Not sure how this picture ended upside down
but I had to get new bolts to mount the handle as I
only had one holding it in the door.


A little bit of work and some discovery thrown in the mix. Gotta tear things down before building it back up. It's getting colder. While I had thought of getting a cover, it was nice seeing one was already on the camper. I may just pull that out, cover it and wait for warmer weather before doing too much else on it.

Lastly, I leave you with a video showing my discovery of the repaired damage from the inside.


Sold 30 Aug 2020

time and money ended up in short supply so i decided to sell the trailer. the couple who got it seemed to have good plans for it. thanks fo...